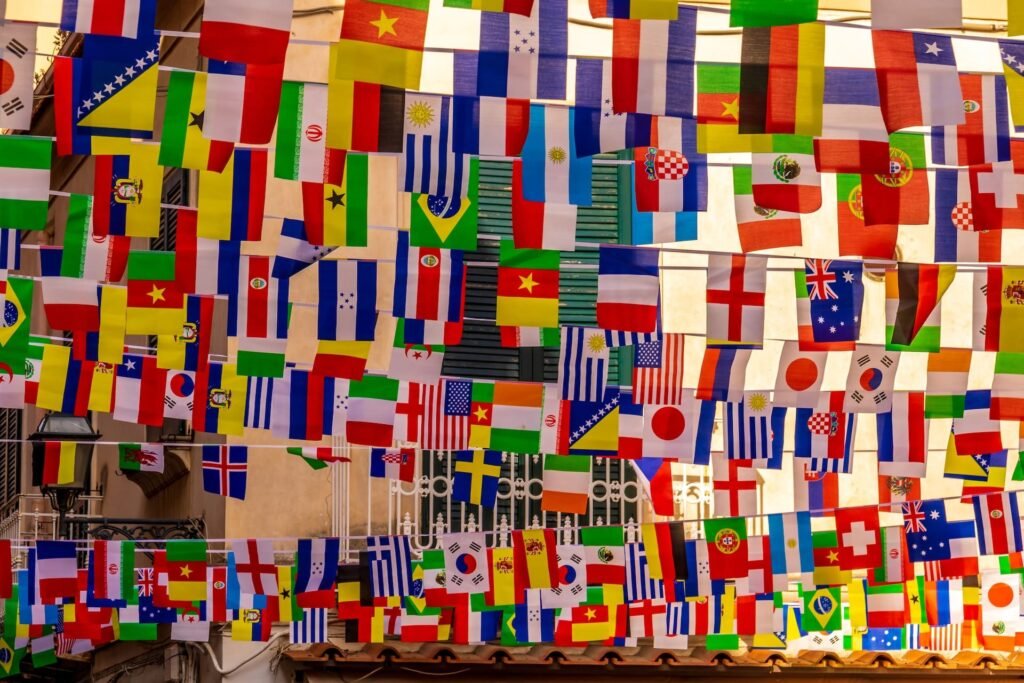
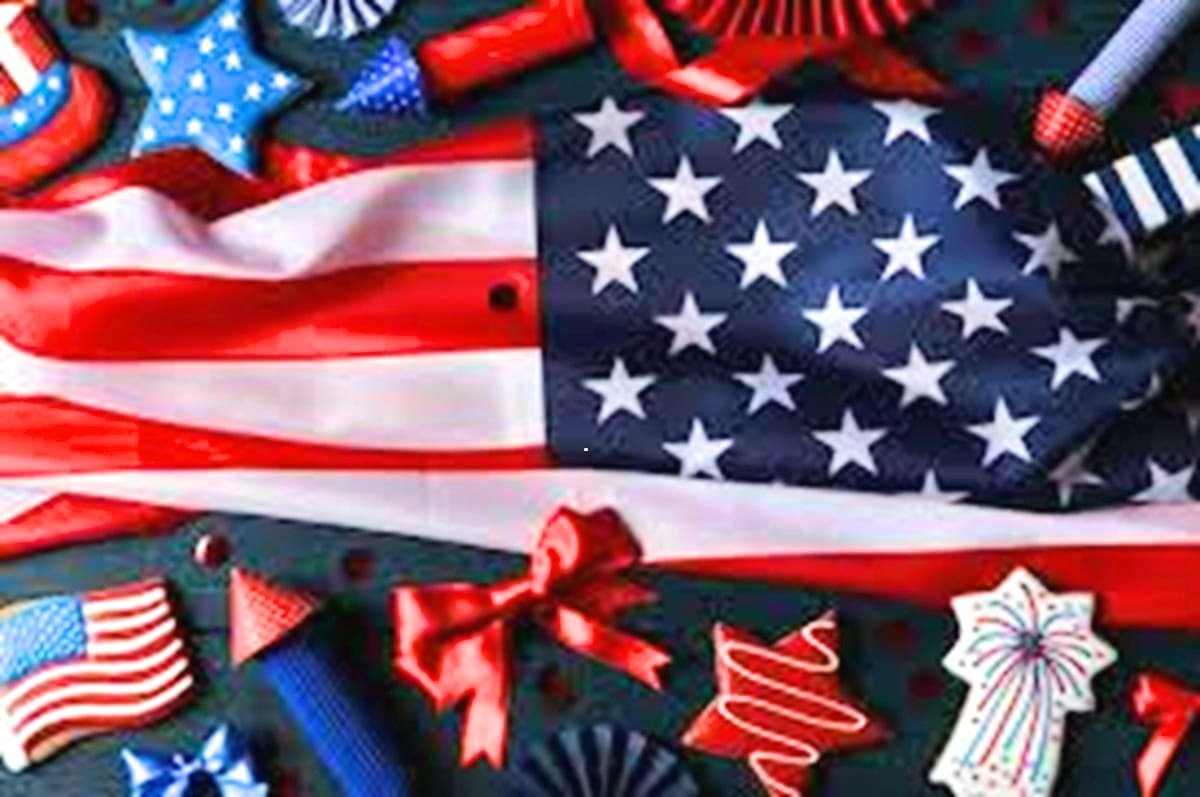
Embarking on a journey to sew your own flag is a delightful blend of creativity and patriotism. This gratifying project is accessible to anyone with basic sewing skills. In this comprehensive guide, we’ll walk you through each step on how to sew a flag, from selecting materials to displaying your handcrafted emblem with pride.
Introduction
Sewing a flag is not only a fun and creative project but also a rewarding way to showcase your patriotism. It may seem challenging, but with some patience and basic sewing skills, anyone can create a flag that is not only meaningful but also a testament to their creativity. In this step-by-step tutorial on how to sew a flag, we’ll guide you through the process of making a flag, covering everything from choosing the right materials to finishing touches. Let’s get started on crafting a lovely and significant flag that you can proudly fly.
I. Choosing Materials and Design
Materials Needed
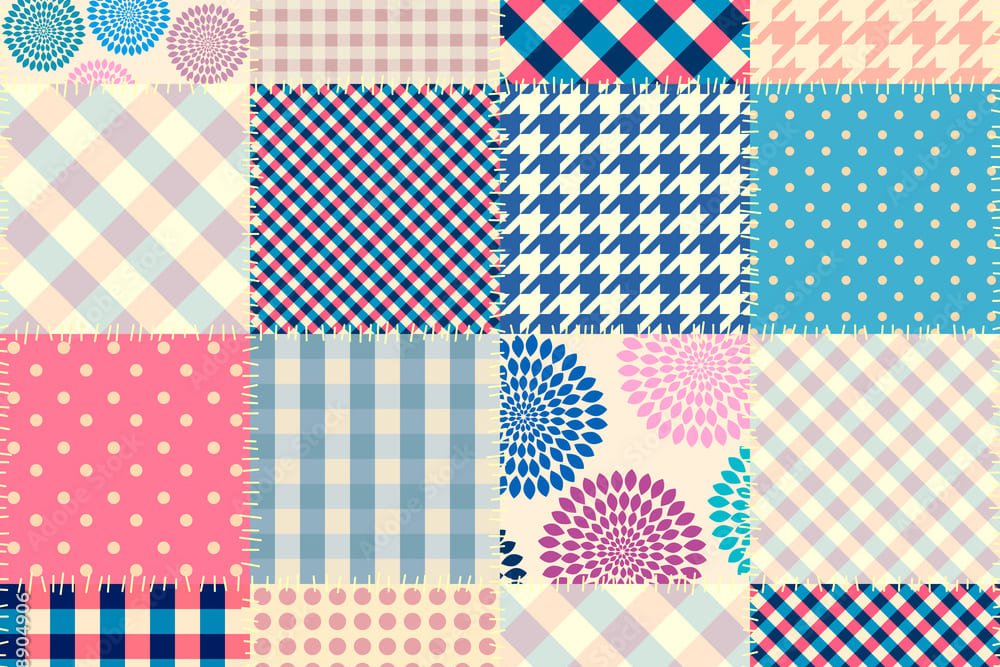
- Fabric: Opt for nylon or cotton based on your flag’s purpose.
- Thread: Choose a thread matching your fabric’s shade.
- Sewing machine or needle and thread: Select based on your preference and efficiency.
- Scissors: Essential for cutting fabric accurately.
- Pins: Keep fabric in place during stitching.
- Iron: Achieve sharp edges with proper pressing.
- Pattern or stencil: Aid in cutting fabric to the right size and form.
- Grommets: Ensure your flag is ready for mounting.
Step 1: Choosing the Ideal Fabric and Design Elements

The fabric you choose for your flag is crucial and depends on its specifications, such as size, design, and intended usage. Consider the following:
- Nylon for outdoor flags: Portable, strong, and fading-resistant.
- Polyester or Rayon for weather resistance: Ideal for outdoor flags.
- Cotton for interior flags: Classic, supple, and breathable. Make the final decision based on your specific requirements and preferences.
Step 2: Cut and Prepare the Fabric

Once you’ve chosen your fabric, the next step is to measure and cut it to your desired size and shape. Be sure to leave extra room for hemming and finishing. Confirm your design’s alignment and centering, and consider adding decorative elements like appliques or embroidery
-
Measure with Intent:
- Use a ruler or measuring tape, ensuring accurate dimensions.
- Tailor the size to your preferences or the occasion’s specifications.
-
Strategic Cutting:
- Cut the fabric with care, allowing extra for subsequent hemming.
- Confirm your design’s alignment; ensure logos or elements sit right
In this phase, meticulous measurements and careful cuts lay the groundwork for a flag that not only fits your vision but also exhibits a touch of artistic finesse.
Step 3: Securing the Fabric
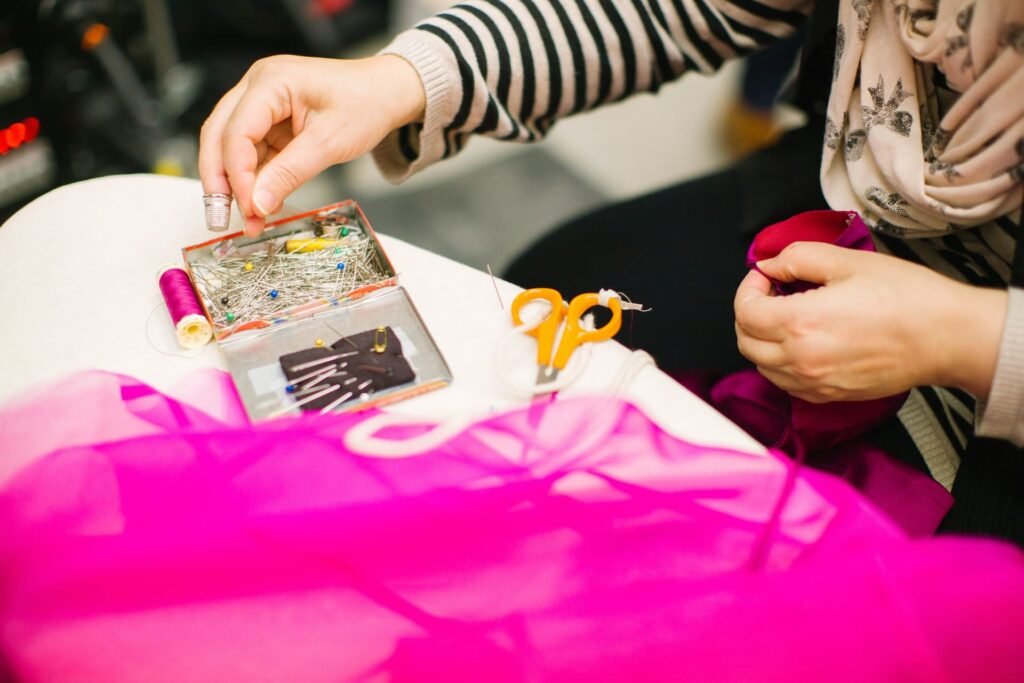
To ensure a tidy and polished outcome, choose a spacious workspace. It is crucial that the fabric does not move for your flag to be perfect. Here’s a concise breakdown of the crucial steps that transform fabric into a symbol of pride and artistry.
-
- Begin in a well-lit and spacious area, ensuring ample room to spread out your fabric.
- A clutter-free, level surface sets the stage for an organized and efficient process.
- Lay the fabric with its right side down, presenting a clean canvas for your work
- Straight pins become your allies in securing the fabric’s hem, an essential step for a neat outcome.
- Fold the fabric’s edges under with care, ensuring uniformity and crisp lines.
- Position the pins just inside the fabric’s edge, avoiding interference with the sewing machine’s needle.
Step 4: Refining the Edges
This pivotal stage is where your flag transforms into a resilient masterpiece. As you embark on stitching the edges of your flag, follow these detailed steps:
-
Fold and Tuck Edges: Begin by taking the fabric edges and neatly fold them inward, creating a clean and tucked seam. This initial step lays the foundation for a polished finish.
-
Double-Fold Hem: To prevent fraying and enhance durability, establish a double-fold hem. Fold the edge over approximately 1/4 inch, press it with an iron, and repeat the process for an additional 1/4 inch. Secure the hem with straight pins before proceeding.
-
Thread Selection: Choose a thread color that seamlessly blends with the fabric. This aesthetic decision ensures that the stitching complements the overall look of your flag.
-
Sewing Machine or Needle: Depending on your preference and skill level, opt for a sewing machine for efficiency or a needle for a hands-on approach.
-
Straight Stitch: Employ a straight stitch along the fabric’s edge, maintaining a uniform distance of about 1/4 inch. This stitch secures the double-fold hem, fortifying the edges.
-
Precision at Corners: When you reach corners, pivot with precision. This technique contributes to the creation of a crisp and tidy edge, enhancing the visual appeal of your flag.
By following these steps, you infuse your flag with strength, longevity, and a meticulous finish, making it a symbol of craftsmanship and dedication.
Step 5: Attaching the Grommets
Elevating your flag from a mere creation to a display-ready masterpiece involves mastering the crucial step of attaching grommets. Follow these precise steps to ensure your flag not only stands strong but is also ready for seamless mounting:
-
Marking the Location: Carefully decide where you want to place the grommets. Ensure they are strategically positioned to allow smooth flag mounting without obstructing any motifs or patterns.
-
Punching a Hole: Once marked, use a grommet setting tool to punch a hole through the fabric at the chosen locations. This hole will serve as the anchor point for securing the grommet.
-
Selecting Grommets: Choose appropriately sized grommets based on your flag’s dimensions and the intended method of mounting. Grommets come in various sizes, so pick ones that align with your specific requirements.
-
Securing the Grommet: Place the grommet into the punched hole, ensuring its flange is on the fabric’s underside. To secure the grommet, use the grommet setting tool to press the two halves together. Apply adequate pressure to ensure a snug fit.
-
Ensuring Proper Spacing: If you’re attaching multiple grommets, pay attention to spacing. Maintain uniform distances between them to avoid interference with your flag’s motifs or patterns.
Your flag, now equipped with perfectly attached grommets, not only signifies your craftsmanship but also stands ready to grace any setting with pride.
Step 6: Personalized Flourish
Elevate your flag to a canvas of self-expression, transforming it into a vibrant work of art that mirrors your unique personality. Explore additional decoration techniques using diverse mediums such as fabric paint, markers, appliqué, or embroidery. Break free from conventions and experiment with patterns, letters, or symbols that hold personal significance, exercising creative freedom. Be mindful of your flag’s size, shape, and fabric type to ensure a harmonious blend of artistry and functionality. Each added embellishment weaves a narrative, turning your flag into a storytelling piece that resonates with your individual style. This step is a celebration of your artistic prowess, allowing your flag to become a distinctive symbol proudly reflecting your craftsmanship.
Congratulations on Your Handcrafted Masterpiece!
As you conclude the journey of learning how to sew a flag, take a moment to revel in the accomplishment of transforming basic materials into a symbol of creativity and patriotism. Your dedication to each step—from selecting the perfect fabric to adding those personal embellishments—has resulted in a unique masterpiece. With every stitch, fold, and flourish, you’ve not only created a flag but also an expression of your individuality. Furthermore, the skills you have acquired today on how to sew a flag will surely aid you in your artistry in other projects. Now, as you prepare to display your handcrafted flag, remember that it’s more than just a piece of fabric; it’s a testament to your skills and artistic flair. Whether it waves in the wind outdoors or hangs proudly indoors, your flag stands as a symbol of creativity, resilience, and the joy of creating something truly special. Congratulations on your handcrafted masterpiece, ready to be showcased and celebrated for years to come!